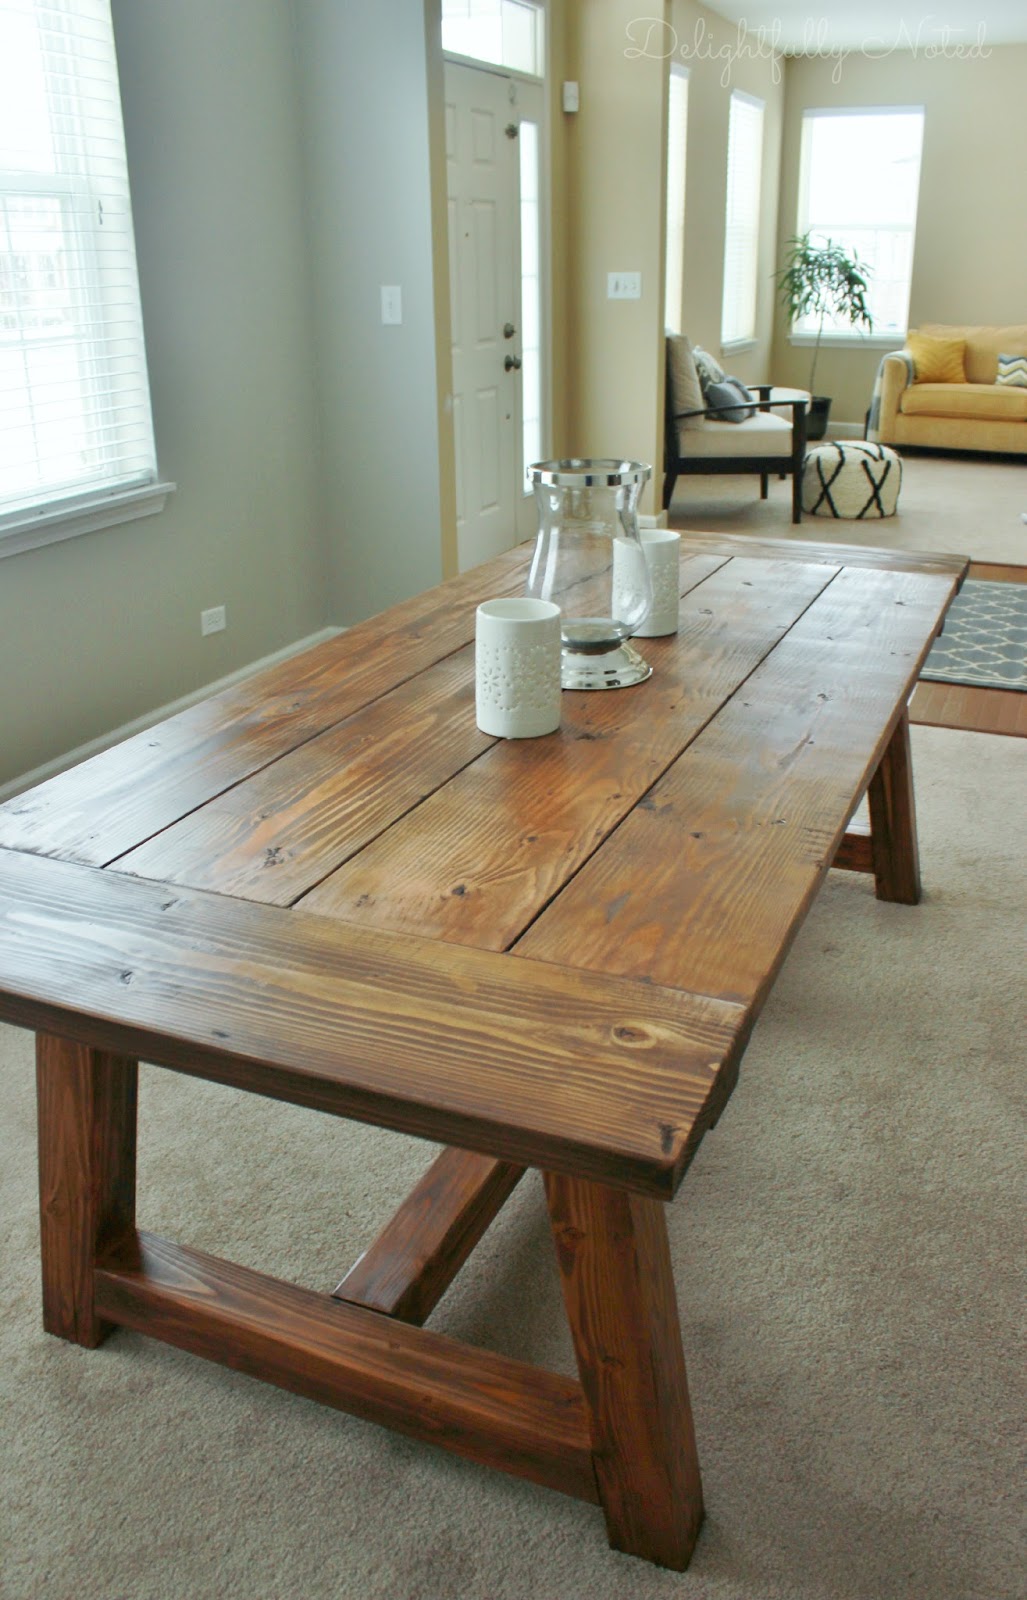
Alright, so you're thinking of building a farmhouse table for your kitchen, huh? Good choice! They're sturdy, beautiful, and add a touch of rustic charm to any space. Plus, building one yourself is way more satisfying than buying one from a store.
Let's dive in! First, you need a plan. I'm going to break this down into manageable steps, so don't worry if you're a beginner. We're going to build a solid table with a simple, classic design that's easy to replicate.
Gather Your Materials:
Lumber: You'll need 2x4s for the legs and supports, 2x6s or 2x8s for the top, and some 1x4s for the apron (that's the frame that goes around the bottom of the table top). Pine is a great option, it's affordable and easy to work with. If you want a sturdier table, go for oak or maple.
Wood Glue: Get a good quality wood glue, it's essential for strong joints.
Wood Screws: You'll need 2.5" and 3" screws for the legs and apron. Use screws that are specifically designed for wood.
Sandpaper: Get a variety of grits, starting with rougher grits to remove any rough edges and finishing with finer grits for a smooth finish.
Wood Stain and Polyurethane: (Optional) Choose colors that complement your kitchen. I love the natural look of stained wood, but you can also paint it if you prefer.
Tools of the Trade:
Circular Saw or Table Saw: You'll use this to cut the lumber to size. You can even rent a saw if you don't own one.
Drill and Driver: Get a good drill with a variety of drill bits.
Measuring Tape and Pencil: Accuracy is key! Measure twice, cut once, as they say.
Clamps: These are great for holding pieces together while you glue and screw them.
Safety Glasses and Hearing Protection: Always wear safety gear when working with power tools.
Let's Get Started!
1. Plan Your Table Dimensions:
Before you start cutting anything, decide on the size of your table. Consider the space you have in your kitchen and how many people you want to seat. A typical farmhouse table is around 6-8 feet long. You can make it longer or shorter, depending on your needs. For the width, I recommend at least 30 inches to give everyone enough space to eat comfortably.
2. Cut the Legs:
You'll need four legs, so measure and cut four pieces of 2x4 to the height you want for your table. A standard table height is about 30 inches, but you can make it higher or lower.
3. Assemble the Legs:
For each leg, you'll need to attach two pieces of 2x4 together to create a "T" shape. You can use glue and screws for a strong connection. Make sure to center the pieces so they're flush with each other.
4. Build the Apron:
The apron is the frame that goes around the bottom of the tabletop. Measure and cut your 1x4 pieces to size. You'll need two pieces for the length and two for the width, plus a few shorter pieces for the corners. Use glue and screws to join the pieces together.
5. Attach the Legs to the Apron:
Now it's time to connect the legs to the apron. First, lay the apron on the ground and position the legs at the corners. Pre-drill holes through the apron and into the legs, then screw them together. Make sure the legs are facing the same direction and that they're securely attached.
6. Cut and Sand the Top:
Measure and cut your 2x6 or 2x8 boards to the desired length and width for your tabletop. If you're using multiple boards for the top, you can use wood glue and screws to join them together. Once the top is assembled, sand it down with sandpaper. Start with a rougher grit to smooth out any rough edges and then switch to a finer grit for a smoother finish.
7. Attach the Top:
Once the top is sanded, flip it over and place the apron with legs attached underneath. Align the apron with the edges of the top and secure it with screws.
8. Sand the Entire Table:
Now that the table is assembled, give it a thorough sanding to smooth out any rough edges. Sand all the surfaces, including the top, legs, and apron.
9. Stain and Finish: (Optional)
If you want to add a finishing touch, you can stain the table with your chosen color. Let the stain dry completely before applying a coat of polyurethane to protect the wood and create a durable finish.
10. Enjoy Your New Table!
That's it! You've built your own farmhouse table. Now all you need is some comfy chairs and a delicious meal to share with your family and friends.
A Few Tips for Success:
Measure Twice, Cut Once: Accuracy is crucial, so don't rush the measurement process.
Pre-Drill Holes: Pre-drilling holes before screwing into wood will prevent the wood from splitting.
Take Your Time: This project isn't a race. Take your time, enjoy the process, and make sure each step is done correctly.
Don't Be Afraid to Ask for Help: If you're unsure about something, don't hesitate to ask a friend, family member, or even a professional for help.
Building a farmhouse table is a rewarding project that can be enjoyed for years to come. It's a great way to add a touch of personality and style to your home, and it's a project that you can be proud of. So what are you waiting for? Grab your tools and start building!
0 comments:
Post a Comment