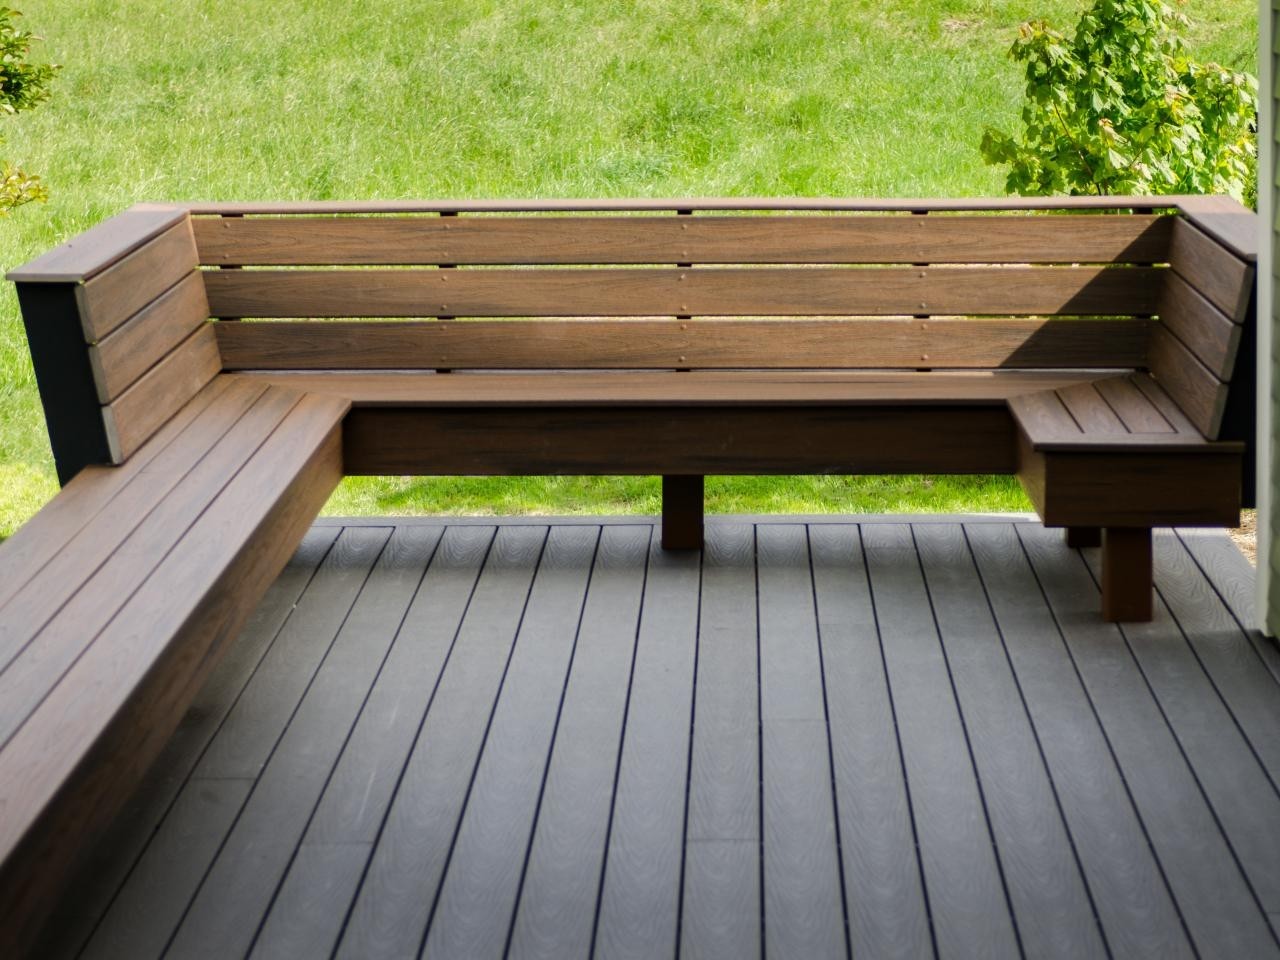
Alright, folks, you've got a hankering for a sweet patio setup, eh? Maybe you're tired of those flimsy plastic chairs that always seem to wobble, or you just want something that screams "cozy summer nights" and "good times with friends." Well, you've come to the right place! Today, we're gonna dive headfirst into building a solid, beautiful wooden patio table with bench seating. No more wobbly chairs! This bad boy is gonna be the centerpiece of your outdoor oasis, and I'm gonna walk you through every step.
Before we start, let's chat about materials. You'll need some lumber, obviously. I'm a big fan of pressure-treated wood for outdoor projects â€" it's gonna hold up against the weather like a champ. You can also use cedar or redwood for that natural, rustic look.
Here's a quick shopping list to get us started:
Lumber:
Tabletop: 2x12s or 2x10s, depending on your desired size
Legs: 4x4s or 2x6s, depending on your desired height and strength
Benches: 2x4s for the frame, 2x6s for the seating
Support beams: 2x4s
Hardware:
Wood screws: 2 ½†and 3â€
Deck screws: 3â€
Wood glue:
Pocket hole screws: (optional)
Tools:
Circular saw or miter saw:
Drill/driver: A cordless drill is your best bet for mobility.
Tape measure:
Level:
Clamps:
Safety glasses: Always protect your eyes, folks!
Pencil:
Hammer:
Sandpaper:
Alright, ready to get started?
Step 1: The Tabletop
First things first, we gotta decide on the size of our table. How many people are you planning on seating comfortably? Remember, a wider tabletop gives you more space for spreading out, but it might make the bench seating a little more crowded.
Let's say we're aiming for a table that's 6 feet long and 3 feet wide. That's a good size for a group of four to six people.
Cut your 2x12s (or 2x10s) to size: You'll need two pieces for the length (6 feet each) and two pieces for the width (3 feet each).
Attach the pieces together: Lay the pieces down to form a rectangle. Use wood glue and 3†deck screws to attach them securely.
Reinforce the tabletop: You can add some extra support by attaching a 2x4 across the center of the tabletop, running lengthwise. This will help prevent any sagging over time.
Step 2: Building the Bench Frames
Now it's time to build the frames for your benches. We're aiming for a comfortable height, so we'll make them about 17 inches tall.
Cut your 2x4s: You'll need two pieces for each bench that are 3 feet long for the bottom rails. Then you'll need four pieces that are 17 inches tall for the legs of each bench.
Assemble the frames: For each bench, lay the two bottom rails parallel to each other, about 16 inches apart. Attach the leg pieces to the bottom rails using wood glue and 2 ½†wood screws.
Add support: You can also add a cross brace between the legs to further reinforce the bench frames.
Step 3: Attaching the Benches to the Tabletop
You've got the table and the bench frames â€" now let's bring them together!
Position the benches: Place the bench frames on either side of the tabletop, leaving enough space between them for a comfortable seat.
Attach the benches to the tabletop: Use wood glue and 3†deck screws to attach the bench frames to the underside of the tabletop. Make sure the bench frames are flush with the edge of the tabletop. You can also use pocket holes to make this step easier.
Step 4: Constructing the Bench Seats
Time to give those benches a comfy seat!
Cut your 2x6s: For each bench, you'll need three pieces that are 3 feet long. These will be the boards that make up the seating surface.
Attach the seat boards: Lay the 2x6 boards across the bench frame, leaving about a ¼ inch gap between each board. Use wood glue and 2 ½†wood screws to attach them to the frame.
Step 5: The Legs (Optional)
This step is optional â€" if you prefer the look of a tabletop resting directly on the benches, you can skip this. But if you want your table to be a bit more elevated, we're gonna add some legs.
Cut your 4x4s or 2x6s: You'll need four pieces that are 18 inches long for the legs.
Attach the legs to the tabletop: Position the legs at the corners of the tabletop. Use wood glue and 3†deck screws to attach them securely.
Step 6: Finishing Touches
You've got a sturdy, functional patio table â€" but it's time to make it shine!
Sand everything: Sand all the surfaces of your table and benches smooth, paying special attention to any sharp edges.
Apply stain or paint: You can leave the wood natural, or stain it to bring out the grain and give it a warm tone. If you want a brighter look, you can paint it.
Seal the wood: Once the stain or paint is dry, apply a sealant to protect it from the elements.
And there you have it! Your very own custom-built patio table with bench seating. You've poured your heart and soul into this project, and it's gonna be the centerpiece of your outdoor gatherings for years to come. Just imagine â€" summer evenings spent under the stars, enjoying delicious food and great company, all surrounded by your handiwork.
A few tips for making your patio table extra special:
Add some storage: You can build some shelves underneath the benches to store your outdoor cushions, blankets, or even a stash of your favorite grilling tools.
Incorporate some decorative elements: Add some trim to the edges of the tabletop or benches for a more refined look. You can also use outdoor fabric or rope to add some pops of color and texture.
Consider adding an umbrella hole: If you're planning on using an umbrella for shade, you can cut a hole in the center of the tabletop to accommodate it.
Remember, building a patio table is about more than just the end result. It's about the process, the satisfaction of creating something with your own hands, and the pride of enjoying something you've built from scratch.
So get out there, grab your tools, and get building! Your outdoor oasis awaits. And don't forget to share pictures of your finished masterpiece â€" I'd love to see it!
0 comments:
Post a Comment